

-
 Autor: Simmy Mishra
Canon Printer Setup - Installation and Downloading Driver Guide
Although there are multiple brands of printers in the market, Canon is the first choice of users when it comes to perfect print. Canon is well-known for its high-quality printing. In order to use the printer, the first step is its canon printer setup.
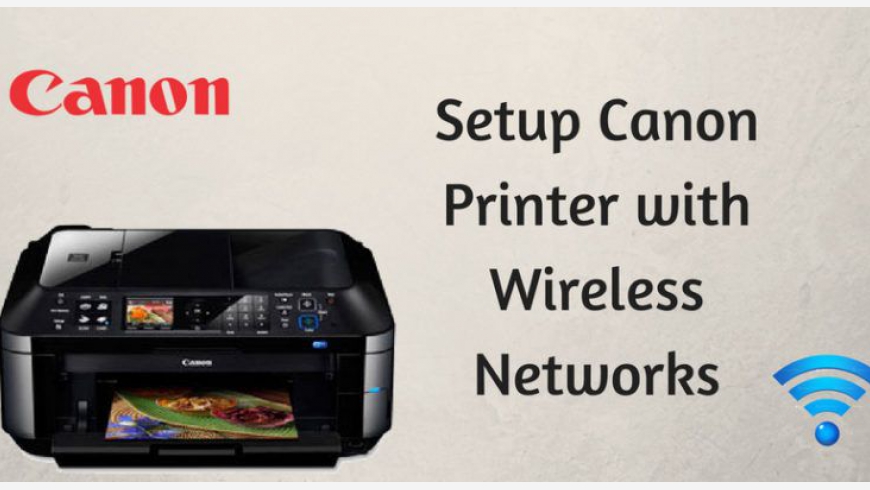
Setup of Canon Wireless Printer
If a user wants to know how to setup Canon wireless printer, then it can be easily carried out by following a set of instructions. Canon printer setup is used to connect a user’s computer and the Canon printer via wireless network. If a wireless connection is established, there will be an advantage of printing anywhere using the device. If a file is saved in the device and it needs to be printed, just select the file and get it printed.
Canon Printer Setup Wirelessly
Thinking about how to set up a Canon printer on your Mac, Windows, iPad, iPhone, iPod or Android phone? Essentially download the “Canon PRINT App”, press your printer wireless to connect button and the information stored on your device, including your WiFi password and name, will automatically be moved to make the setup process quicker and simpler than any time.
How to setup canon printer?
Canon Set up - If the router does not have WPS feature, use this method. Below mentioned are the guidelines when a user wants to know how to setup Canon printer using this method.
Network Settings
Download and install Canon setup from Canon com/ijsetup
- Connect computer to printer for the network settings.
- Load the input tray with papers.
- Press & hold the resume or cancel button for a few seconds.
- In the printout of the information page, check the connection status.
- Verify the network name also.
- Ensure that the printer is switched on and properly connected for setup. For wired connection, ethernet cable is required.
- Check if the required drivers are already installed on the system.
- Connect the printer to the internet and check its speed.
- In case of a router, connect the computer and printer to the router.
Canon Printer Setup For Windows OS:
- Click on Start and then Settings to open it.
- Then, Devices is clicked in the Settings window.
- Under this option, select Printer and Scanners and then choose the option of
- Add the printer or scanner. It will add a printer in the list.
- Connect it to the same network as of printer
Canon Printer Setup For Mac OS:
- The first step is to choose System Preferences and select Printers & Scanners.
- Select + symbol to add the printer.
- In the available list, select the printer and add it.
- In the case of a router, connect the Mac device and printer to the same network.
- To ensure the connection, take the test print.
How To Do Canon MG3600 Setup?
If you have recently purchased a Canon PIXMA MG3600 printing machine for your home or office use, then the first thing you require to do is to unpack the box slightly and take out all the accessories and then put the device on a table. Plug-in the printer in an electric power slot and then start with the canon mg3600 setup.
Begin with connecting all its wires by looking in the printer manual. With an automatic connection button, WPS, you can connect your devices. This allows both the devices such as printer and computer to connect with each other to your network without needing to enter a password.
Methods For PIXMA Canon MG3600 Setup
Method 1: WPS Connection of Method
If your access point has a WPS button, then without any confusion select the ‘WPS Connection Method’ as this method is the easiest way of completing canon mg3600 connection setup with Wi-Fi. Just have a glance on the noted lines and follow the same as directed:
- First of all, make sure that the printer is ON and the WPS button on the wireless router is accessible
- Now, press and hold the Wi-Fi button on the printer until the ON lamp flashes
- Press the “Black” button and then the “Wi-Fi” button
- Now, make sure the Wi-Fi lamp flashes quickly and the ON lamp is lit. Then, go to your access point and press the WPS button within a couple of minutes
- After that, you can see that the blue Wi-Fi lamp on the printer will continue flashing while searching, and the Power and Wi-Fi lamps will both flash when connecting to the access point. Once the printer gets successfully made the connection to your wireless network, the Power and Wi-Fi lamps will stop flashing and remain lit
- In the end, make sure that the Wi-Fi lamp and the ON lamp are lit
- Once done the above procedure, the network connection setup is now completed. If still your device is not connected, then jump to the next method to complete the canon mg3600 setup process.
Method 2: Standard Connection Method
In case your access point doesn’t support WPS feature, then follow the below-given instructions to set your printer up on your wireless network:
- Click on “Start Setup” when the initial screen display
- Now, the software will check for the driver if there is needed to update. It will start downloading automatically if needs to be updated. Wait for a few minutes
- Select your region and country and then click “Next”
- If you accept the terms and conditions of the license agreement, then click “Yes”
- If you want to take part in the Extended Survey Program, click “Agree”, otherwise click “Do not agree”
- Click “Next” to allow all “Install Wizard Process”
- Select “Wireless LAN Connection” and then tap “Next”
- Select Connect via wireless router” and then click “Next”
- Make sure your printer is turned on and then hit “Next”
- Make sure “Setting printer could not be found on the list” is selected, and then tap “Next”
- The setup guide will open, all you need to do is to follow the on-screen instructions carefully
- Wait for a minute while the setup discovers the printer
- Once the setup is completed, hit "Next"
- And then click "Exit"
Follow the steps provided for completing the Canon MG3600 connection setup with Wi-Fi. The steps are as under: -
- First of all, just check if the pri nter is ON or NOT and check if the WPS button on the wireless router is available.
- Now, give a deep long press on the Wi-Fi button on the printer until the ON light flashes brightly.
- Tap on the black button present on the home screen and then click on the “Wi-Fi” button.
- Now, make sure the Wi-Fi is blinking fast and steady. Also check the 'On' light is lit. Next, you have to go to your access point that is available on the printer and long-press the WPS button for a couple of minutes.
- Now after all the hassle, you will see that the blue light of WI-Fi on the printer will light up, the power and the Wi-Fi lamps will both flash on the printer. Once the printer is firmly connected to your Wi-Fi, the power of the printer and Wi-Fi light will stop flashing.
- In the end, just make sure that the Wi-Fi light and the 'ON' light are lit together.
When you're done with the aforementioned steps, the network connection setup gets completed. If however, your device is not working, skip to the next plan to complete the Canon mg3600 setup process
Komentarze