

-
 Autor: Simmy Mishra
Easy Guide: AT&T Email Settings for a Smooth Email Experience
Setting up your AT&T email correctly is essential for seamless communication and efficient email management. In this comprehensive guide, we will walk you through the step-by-step process of configuring your Email Settings for ATT to ensure a hassle-free email experience.
Step 1: Open Your Email Client
Launch your preferred email client on your device, such as Microsoft Outlook, Apple Mail, or Mozilla Thunderbird. Locate the "Add Account" or "Settings" option, usually found in the menu or toolbar.
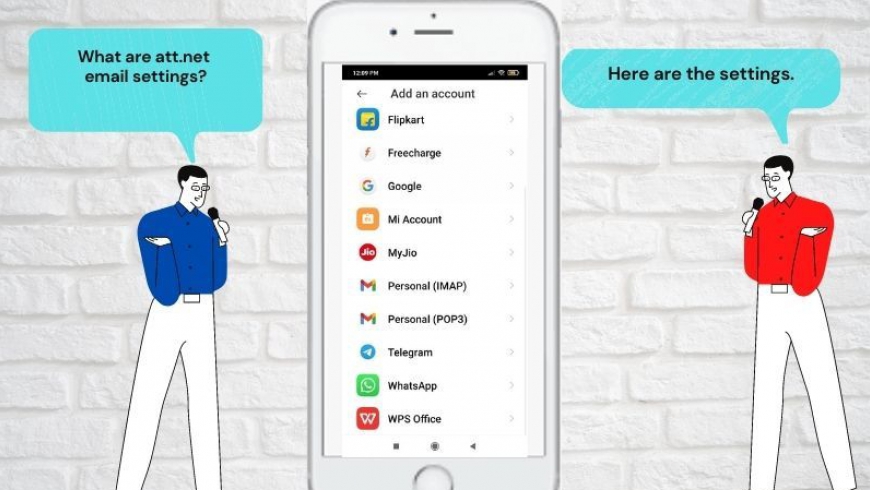
Step 2: Select "Add Account" or "New Account"
In your email client's settings, choose the option to add a new account or create a new email account. This will open a setup wizard or a form where you can enter your AT&T email details.
Step 3: Enter Your AT&T Email Address
In the setup wizard or form, provide your full AT&T email address in the designated field. Ensure that you include the "@att.net" domain.
Step 4: Choose the Account Type
Select the appropriate account type for your AT&T email account. Typically, you can choose between "IMAP" (Internet Message Access Protocol) or "POP" (Post Office Protocol). IMAP is recommended for most users as it offers better synchronization across multiple devices.
Step 5: Configure Incoming Mail Server Settings
Enter the incoming mail server settings for AT&T. For IMAP, the server address is "imap.mail.att.net," and for POP, it is "inbound.att.net." Ensure that the port number is set to 993 for IMAP or 995 for POP. Enable SSL or TLS encryption for enhanced security.
Step 6: Configure Outgoing Mail Server (SMTP) Settings
Enter the outgoing mail server (SMTP) settings for AT&T. The server address is "smtp.mail.att.net," and the port number should be set to 465. Enable SSL or TLS encryption for secure outgoing mail.
Step 7: Provide Your AT&T Login Credentials
Enter your AT&T email login credentials, including your email address and password, in the designated fields. Double-check for accuracy and ensure that your password is entered correctly.
Step 8: Advanced Settings (Optional)
If your email client provides advanced settings, you may need to specify additional details such as authentication method, server timeouts, or folder mappings. These settings can usually be left as default, but you can consult AT&T's support documentation for any specific requirements.
Step 9: Test and Save Settings
Once you have entered all the necessary information, proceed to test the settings by sending a test email. This will verify that your email client is properly configured. If the test is successful, save the settings, and you're ready to start using your AT&T email account.
By following these step-by-step instructions, you can easily configure your AT&T email settings and enjoy a seamless email experience. Whether you prefer to use a desktop client or a mobile app, proper configuration ensures that you can send, receive, and manage your AT&T emails effortlessly. Keep your login credentials secure and readily accessible for future reference.
AT&T Email Login Made Easy: Troubleshooting Login Issues
Logging into your AT&T email account is essential for accessing your emails, managing contacts, and staying connected. However, login issues can sometimes arise, preventing you from accessing your account. In this guide, we will provide you with step-by-step instructions to log into your AT&T email successfully and troubleshoot common login issues.
Step 1: Access the AT&T Email Login Page
Open your preferred web browser and navigate to the official AT&T email login page. You can easily find it by searching for "AT&T email login" or by visiting the AT&T website directly.
Step 2: Enter Your AT&T Email Address
On the login page, locate the field labeled "Email" or "User ID" and enter your full AT&T email address. Ensure that you include the "@att.net" domain in your email address.
Step 3: Provide Your Password
In the designated password field, enter the password associated with your AT&T email account. Make sure to enter the password accurately, as it is case-sensitive. Double-check for any typos or mistakes.
Step 4: Check for Caps Lock and Keyboard Language
If you're experiencing login issues, verify that the Caps Lock key on your keyboard is turned off. Passwords are case-sensitive, so make sure you're using the correct capitalization. Additionally, ensure that your keyboard language is set correctly to avoid any accidental password errors.
Step 5: Reset Your AT&T Email Password
If you can't remember your password or suspect that it's incorrect, you can reset it by clicking on the "Forgot Password?" or "Reset Password" link on the login page. Follow the prompts to verify your identity and create a new password. Make sure to choose a strong and unique password for enhanced security.
Step 6: Clear Browser Cache and Cookies
Sometimes, login issues can be caused by cached data or corrupted cookies in your web browser. Clear your browser's cache and cookies to eliminate any potential conflicts. You can usually find this option in your browser's settings or preferences menu.
Step 7: Disable Browser Extensions and Security Software
Certain browser extensions or security software can interfere with the AT&T email login process. Temporarily disable any browser extensions or security software that might be causing login issues. Restart your browser and attempt to log in again.
Step 8: Try a Different Browser or Device
If the login issues persist, try accessing your AT&T email account using a different web browser or device. This can help determine if the problem is specific to your current browser or device.
By following these step-by-step instructions, you can troubleshoot and resolve common ATT email login issues. Remember to double-check your email address and password for accuracy, reset your password if necessary, clear your browser cache and cookies, and consider trying a different browser or device.
Komentarze